Export, Schedule, Save View, and Print
Within the Parse.ly dashboard, we offer several options for extracting, sharing, and bookmarking data and views of data that matter most to you. These options are: Export, Schedule, Save View, and Print. Read below on details of each of these dashboard actions, what you can do with them, and where to find them in the dashboard.
Where to find Export, Schedule, Save View, and Print options in Parse.ly
The option to export, schedule, save view, and print data from your dashboard is available on the top right-hand side of most pages in Parse.ly. They stand out as blue text with accompanying icons before the list view of the data you are viewing on the page.
The Export, Schedule, and Save View options are available on Pages, Authors, Sections, Tags, Campaigns, Segments, and Conversions.
The Print option is available on all pages in the dashboard. This includes the Overview, Pages, Authors, Sections, Tags, Campaigns, Referrers, Channels, Segments, and Conversions.
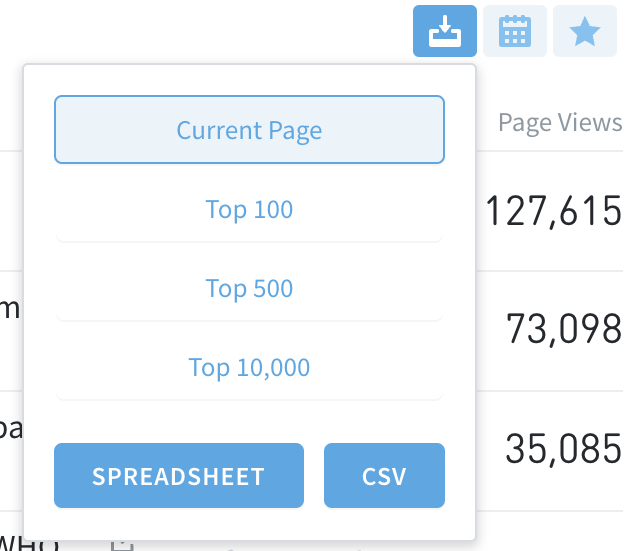
Export as spreadsheet or CSV
Use the Export option to export the current page, top 100, top 500, or top 10,000 items in a list view as either a spreadsheet or CSV file.
Schedule
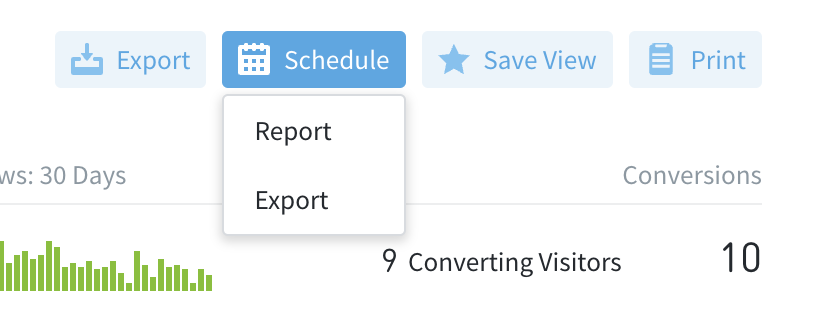
Use the Schedule option to schedule a report or export using the data in your current view of the dashboard. Selecting either option from the dropdown will take you to the next step in the scheduling process.
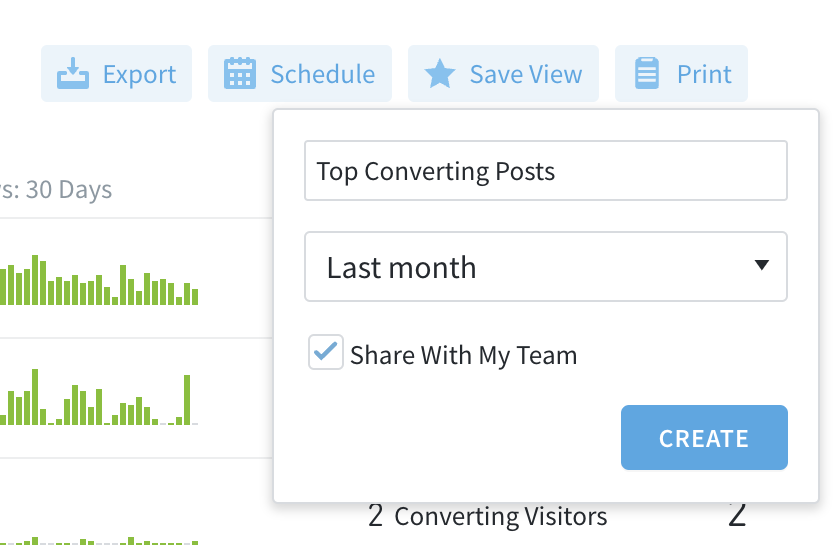
Save View
Use the Save View option to save the precise view in the dashboard you are looking at right now, so you and your team can revisit it at a later time. This is a great way to set and forget the specific data view you need and revisit it any time. You can also then use the Print option to generate a PDF report of your saved view for easy sharing.
Step 1: create a saved view
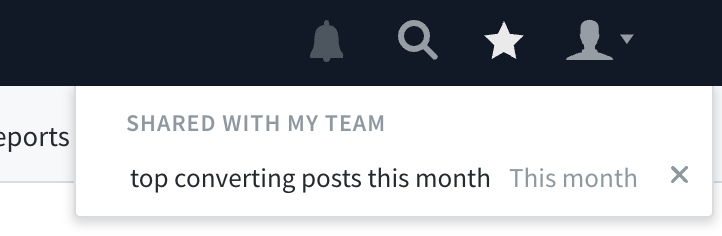
Step 2: revisit saved views with the star icon ⭐️ in the Dashboard top bar.
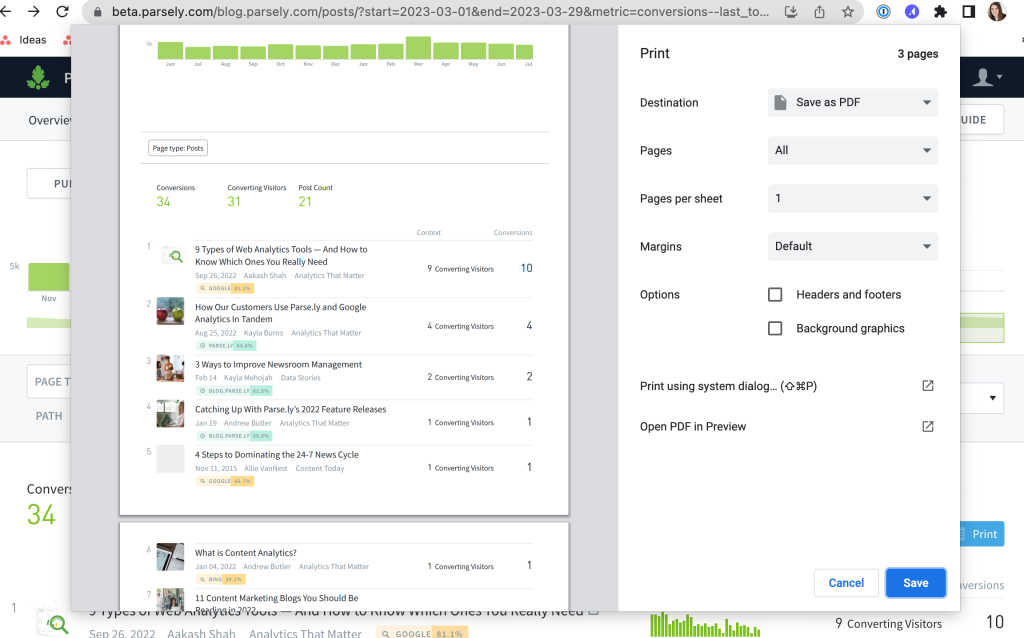
Use Print to Print or Save as a PDF any view in their dashboard. This makes it faster, easier and just as visually appealing to create and share reports with team members and leadership.
Last updated: June 03, 2024