Parse.ly Metadata: Setup and configuration
All Parse.ly Integrations start with the same two steps. By now, you should have completed Step 1: installing the Parse.ly tracking code. Now it’s time for Step 2: specifying metadata so Parse.ly can crawl it and display it on your dashboard. This post is an overview of metadata; we link to dedicated posts for each of our accepted metadata formats. Familiarize yourself with the contents of this post before implementation.
First, let’s look at a couple of places where metadata appears in Parse.ly:


Metadata isn’t solely about making Parse.ly look pretty, it also enables functionality. We use metadata throughout all of our features for proper aliasing, filters, reports, and customization to find exactly what you’re looking for.
Metadata Formats: JSON-LD & Meta Tags
You may provide metadata via JSON-LD, repeated meta tags, or a combination.
- JSON-LD – following open standards and schemas, you may also use this script tag for other services (such as Google, for enhanced display in search listings).
- Meta tags – if the CMS you are using has a way to provide page information as meta tags in the page header, then this might be a better option.
Examples using both methods
Note
Meta tags take precedence over JSON-LD values.
- If you’re using an unsupported JSON-LD
@type, then we would categorize that as a Non-Post. To change this, you may add a meta tag to say we should track this page as a Post. - If you normally provide metadata in JSON-LD but need to add
parsely-post-id, then you may do so via meta tag.
Parse.ly’s Metadata Fields
The following table contains the metadata fields for each method. Please review the JSON-LD and repeated meta tags documents for more information.
| JSON-LD | Meta tag | Description |
@context | See JSON-LD documentation | |
@type | parsely-type | Distinguishes Posts from Non-Posts |
url | parsely-link | The Parse.ly canonical URL. |
thumbnailUrl | | URL of the image (supported formats) |
headline | parsely-title | Post/Page title |
datePublished | parsely-pub-date | Publication date |
creator | parsely- | Author(s) |
articleSection | parsely-section | The top-level category. |
keywords | parsely-tags | We support up to 100 tags per URL. |
isBasedOn | parsely-network-canonical | See Network Syndication documentation |
parsely-post-id | See meta tags documentation | |
parsely-metadata | See custom metadata documentation |
Thumbnail Images: Supported File Formats
The Parse.ly dashboard supports the following file formats: heic, webp, jpg, gif, png, tiff.
Post vs Non-Post
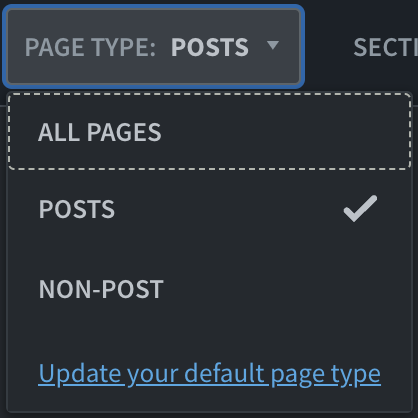
Parse.ly uses metadata to distinguish between web pages that are posts and non-posts. We consider posts as those urls that contain editorial or marketing content (articles, reports, blog posts, etc.). And we consider other urls that are more transactional or navigational in nature, to be non-posts. Non posts include: homepages, index pages, section pages, checkout pages, newsletter subscription pages etc.. All of this is based on what you select for the (meta tag) parsely-type or (JSON-LD) @type.
Providing Metadata to Parse.ly
WordPress Parse.ly Plugin
If you enabled the WordPress Parse.ly Plugin and entered your Parse.ly Site ID, then we already have your metadata straight out of WordPress. However, you may adjust your plugin settings or use our plugin functions to modify the metadata that we output.
/metadata Endpoint
Our API enables you to send metadata about a URL. Video metadata must be sent via the API endpoint if you would like to access video data in the API. Please contact your relationship manager if you’re interested in having API Access and/or video tracking.
How Parse.ly Collects Metadata
We have two primary means of reading metadata:
- Crawl – this is our main method for reading metadata. If we are unable to crawl your site, you may need to add our information to your allow list. The Parse.ly Crawler does not execute JavaScript and the information must be accessible in the page source.
- In-Pixel – we recommend testing in a staging environment and sending that pageview traffic to your Sandbox dashboard. We assume that your staging environment is inaccessible to our crawler, so we receive your metadata via pixel requests instead.
Updating Metadata
We anticipate the need for updated metadata. That’s why we recrawl new articles 24 hours after publication. However, we do not automatically update metadata beyond this, by default. To learn more about metadata updates, read more on recrawls.
Missing Metadata
If you’re sending metadata but the dashboard isn’t showing it, then you might have our crawler blocked. Try allowlisting our crawler using the information found here. Otherwise, if you’re missing individual fields, then we may insert placeholder values.
- Unknown authors become “Staff”
- Unknown sections become “Uncategorized“
Next Steps
You should now have a better understanding of Parse.ly metadata, why it’s important, how it’s represented, its properties, how to provide it, how we collect it, and how we can update it. Now it’s time to select the format you would like to start with:
Want to learn more? Read “How metadata supercharges analytics in Parse.ly“.
Last updated: June 05, 2025