WordPress Plugin: Installation and Configuration
If you want to integrate Parse.ly content analytics into your WordPress website without any extra integration work, you can use wp-parsely. The wp-parsely plugin automatically injects the Parse.ly content analytics tracker and metadata into your website’s pages. You can also customize your integration easily in the plugin’s settings page.
This page provides installation and configuration details. You may be interested in additional plugin documentation:
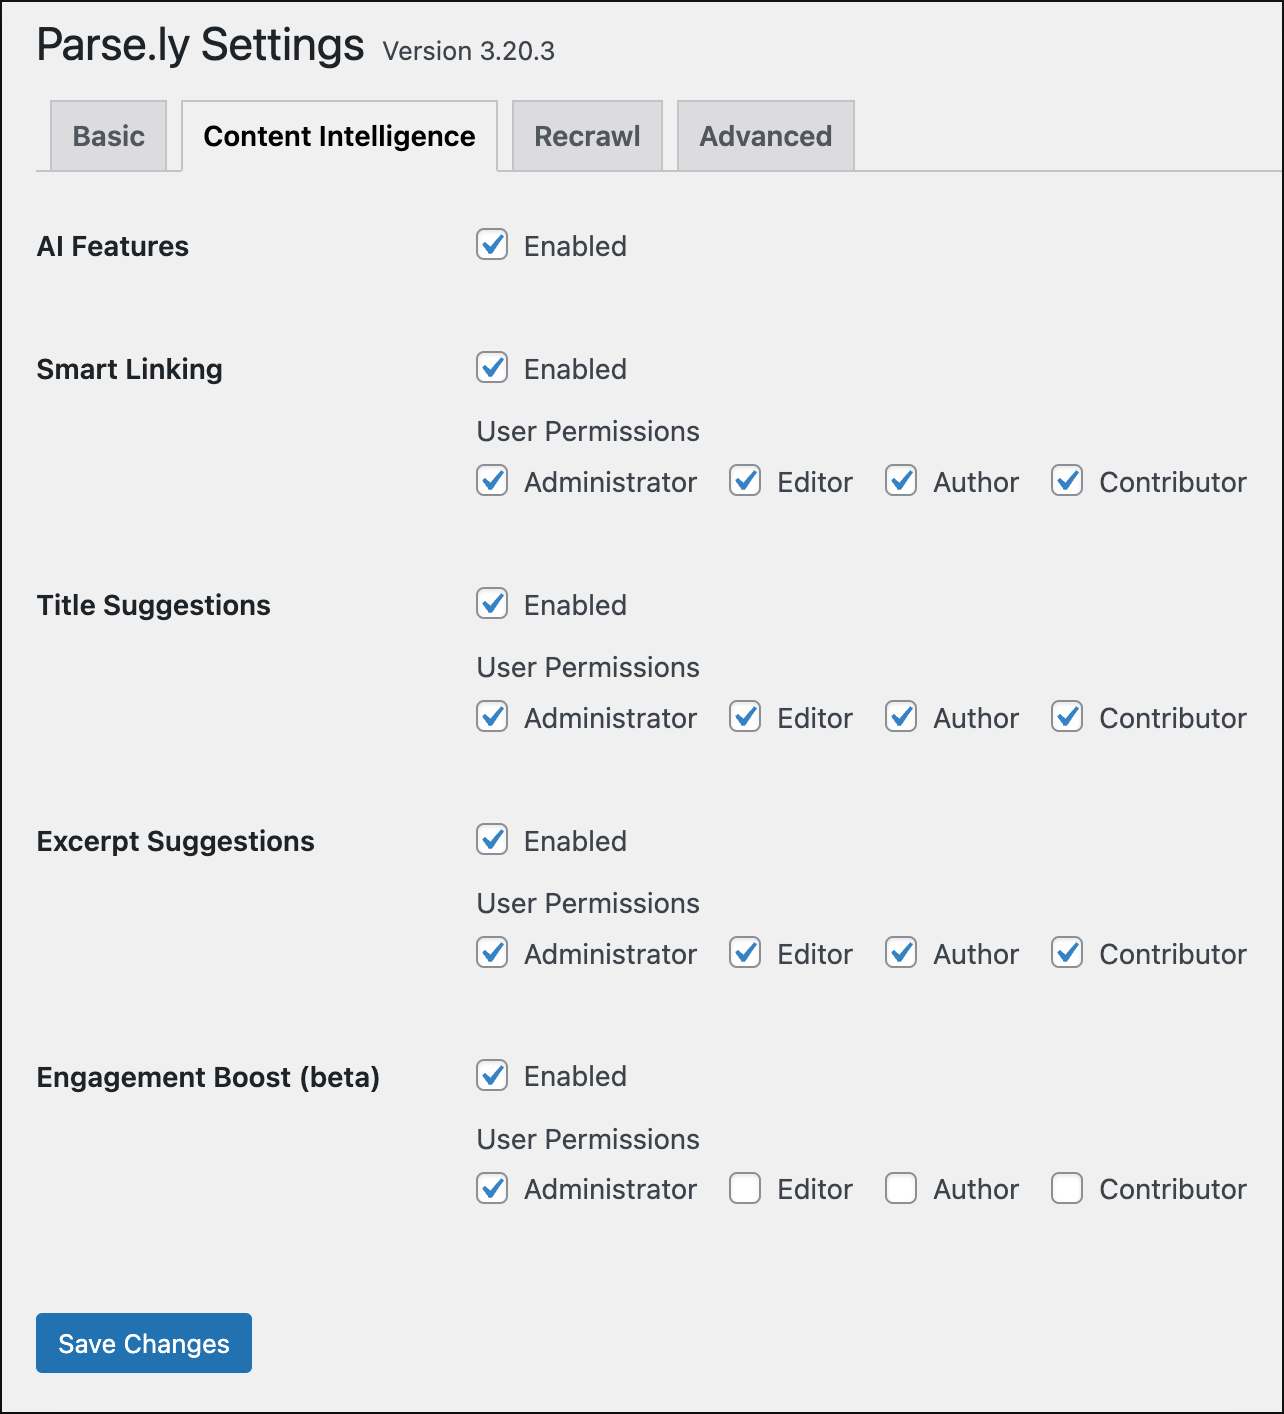
- Content Intelligence: bringing insights and publishing tools directly into existing WordPress workflows
- Decoupled support: solutions for REST API and GraphQL
- Dynamic Tracking: customize when the tracker fires
- Recommendations block: available in the block editor
- Frequently Asked Questions
- Troubleshooting
Installation
Installation steps differ depending on your setup, so please pick the one that applies to your case.
WordPress VIP customers: Contact your account representative(s) and we will install the plugin for you.
WordPress.com customers: Please contact Support to ask for help activating of the plugin for your website.
For all other cases (regular WordPress installations):
- Visit the “Plugins” page in your WordPress dashboard and click “Add New” at the top of the page.
- Search for “Parse.ly” using the search bar on the right side. The wp-parsely plugin should appear in the search results.
- Click “Install Now” to install the plugin.
- After installation is completed, click the “Activate” button to activate the plugin.
Decoupled set up: regardless of your hosting situation, you can use wp-parsely in conjunction with a different front-end application. Follow the configuration instructions, below, and then review our decoupled instructions.
Configuration
Required configuration: Site ID
Now that wp-parsely is installed and activated, complete the initial configuration for it to work.
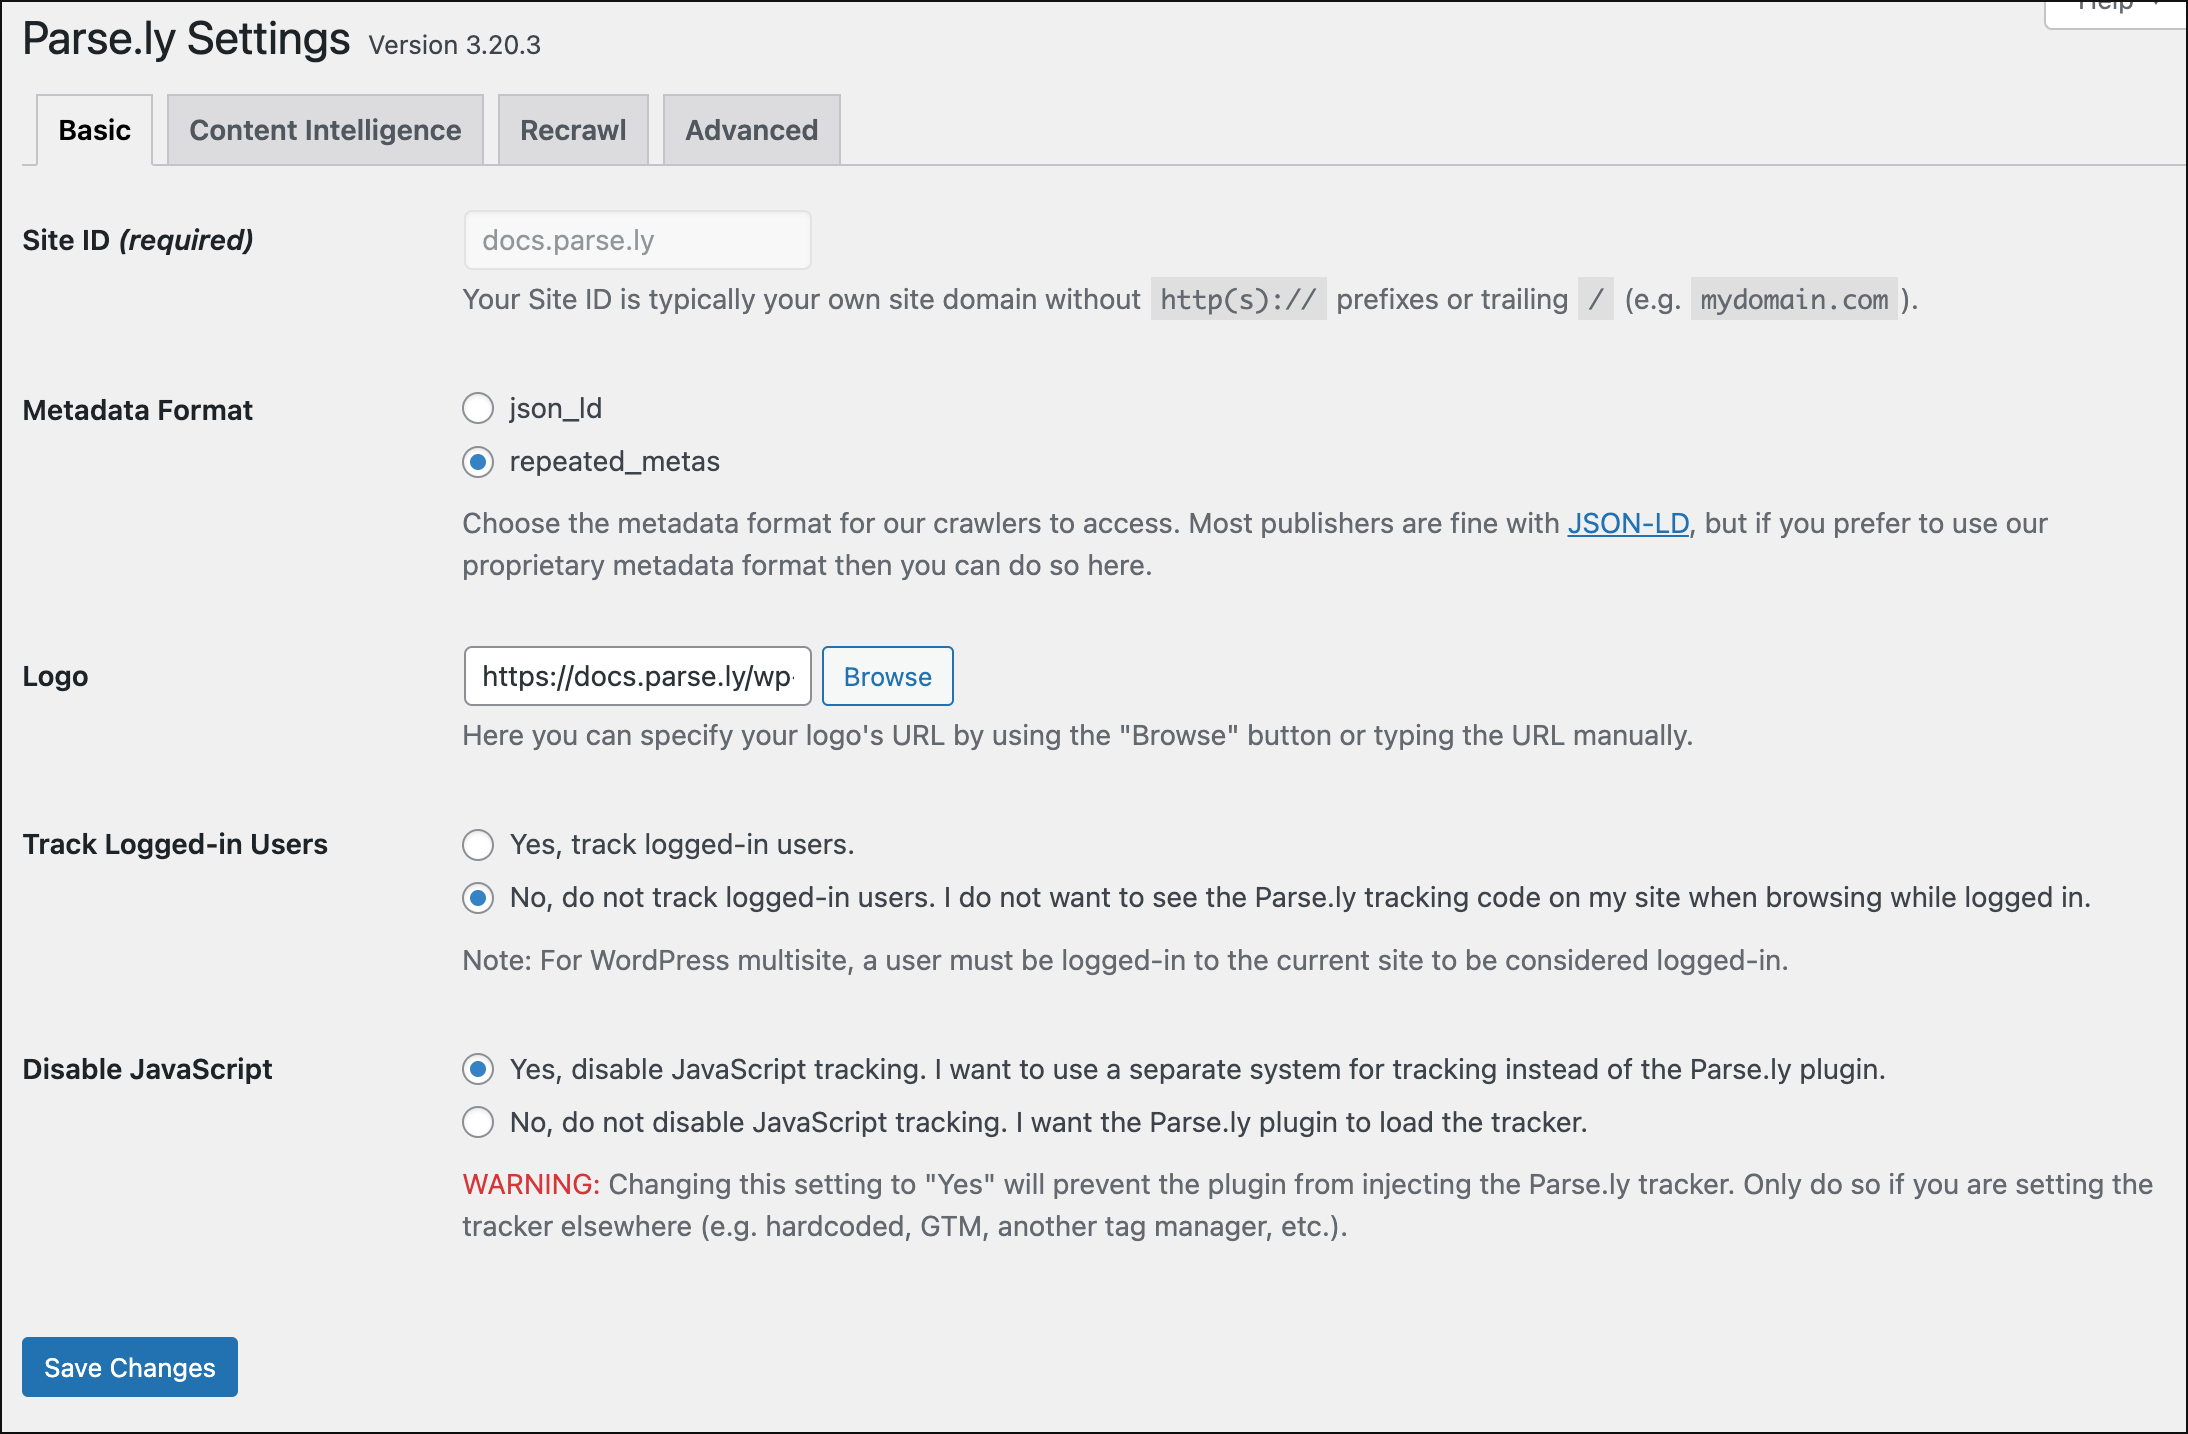
- Navigate to the Parse.ly settings page in the WordPress dashboard (under the “Settings” menu).
- Required: Fill your Parse.ly Site ID. The plugin will not work without a valid Site ID. You can find your Site ID in the Parse.ly Dashboard under the “API Settings” menu item.
Basic Settings
Under the “Settings” menu on the Parse.ly settings page, you may see the following fields as part of Basic Settings.
- Parse.ly API Secret (optional, not visible to new WPVIP customers). The Parse.ly API Secret is optional and only available to customers who have purchased the Parse.ly content analytics API. You will need the Parse.ly API Secret If you plan on using the Content Intelligence. If you have purchased the API, you can find your API Secret in the Parse.ly Dashboard under the “API Settings” menu item. If you have not purchased the API and would like to do so, email your account manager or support@parsely.com.
- Parse.ly Metadata Secret (optional, not visible to new WPVIP customers). This is a key given to you by Parse.ly support. Do not input any data in this field unless instructed to do so by the Parse.ly support team.
- Metadata Format: Select a metadata format. We recommend JSON-LD, as this is used by most publishers.
- Logo: If you have a logo you want to add, you can specify your logo’s URL by using the Browse button to the right of the Logo setting.
- Track Logged-In Users: Select whether or not you want to track logged-in users. By logged-in users we mean people on your team who are creating content from within WordPress.
- Disable JavaScript: Select whether or not you want to use the Parse.ly plugin to load the JavaScript tracking on your site.
- Go to the bottom of the page and click the “Save Changes” button.

Additional configuration
Please configure any additional options as instructed by Parse.ly Support. You can access the additional settings using the Content Intelligence, Recrawl, and Advanced tabs.

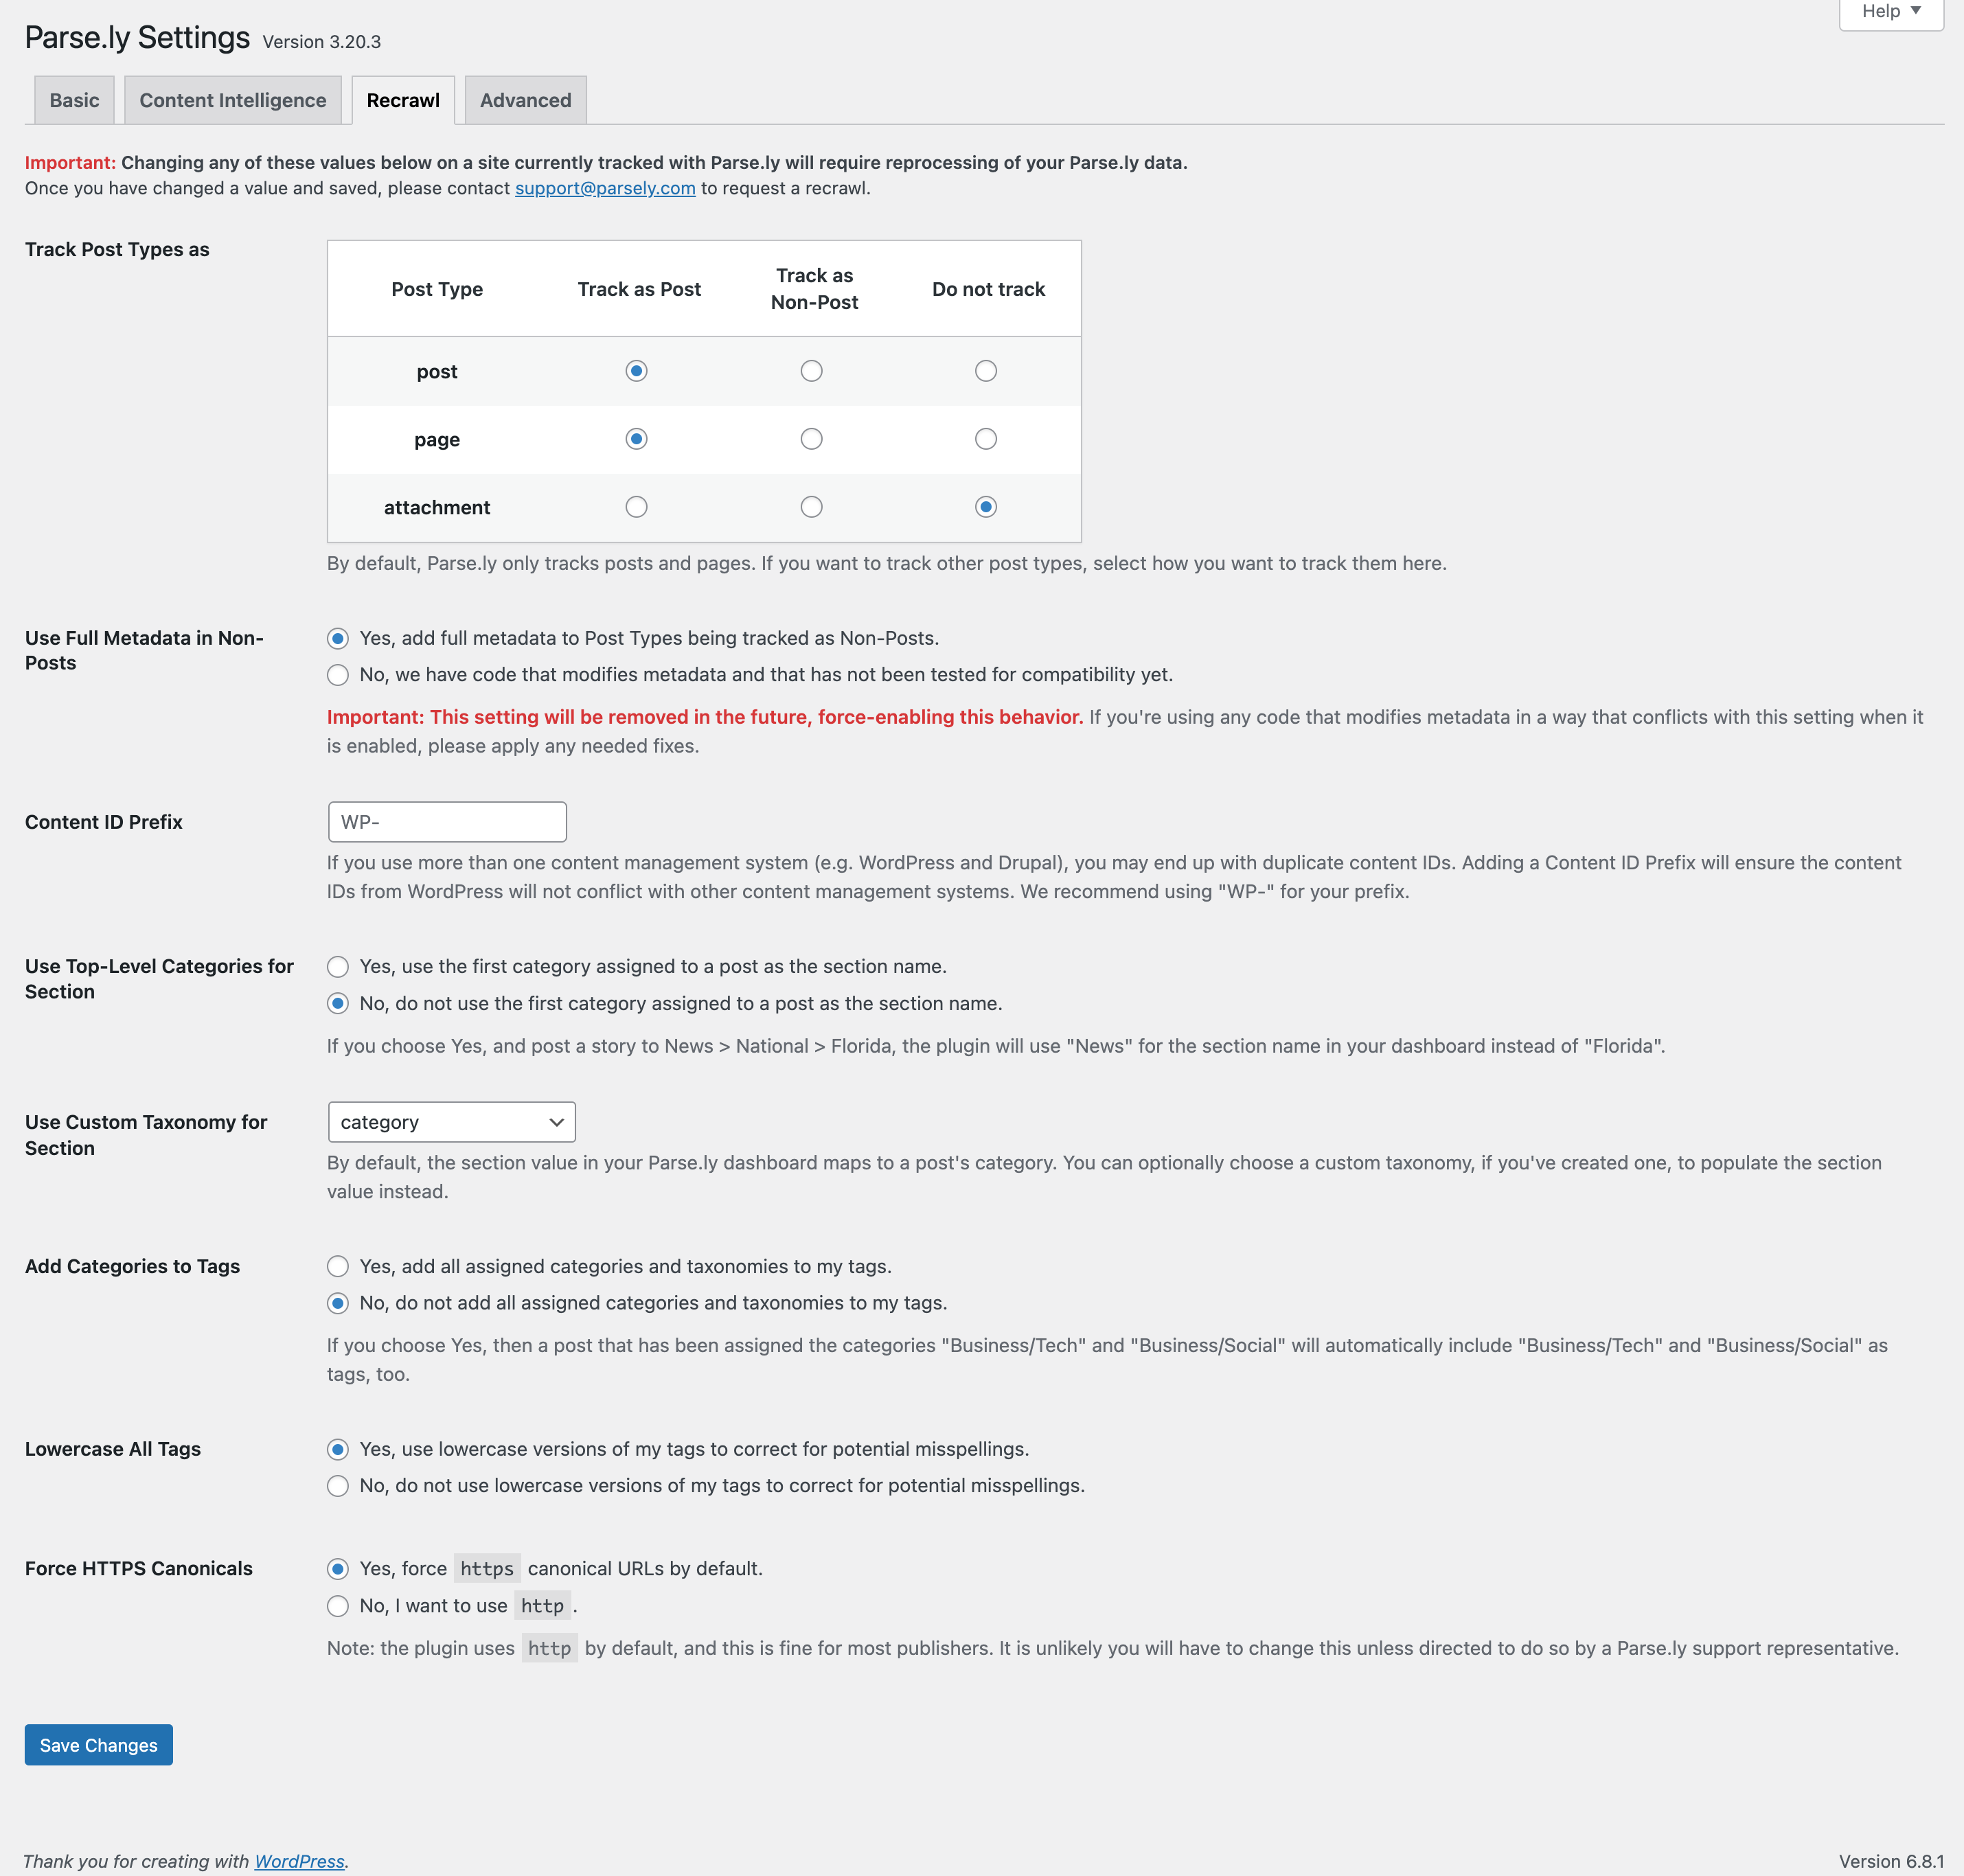
Recrawl
Use Full Metadata in Non-Posts
This setting supports a feature request discussed here. In short, the request is for the plugin to provide metadata support for non-posts like it already does for posts. Some publishers may have developed metadata solutions that conflict with the update we made to the plugin. Therefore, we’re providing this opportunity to toggle the new functionality while resolving potential conflicts.


Last updated: July 02, 2025