Users
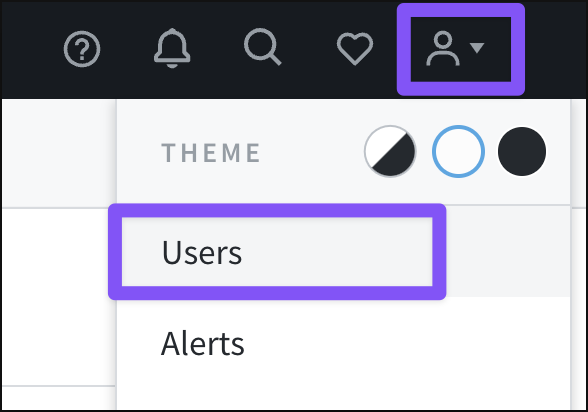
Account admins can invite, edit, and remove users via the User Management page of the account menu, as well as access authentication settings and export user information.
Note
Not an account admin? Find a list of your admins on the account settings page. Parse.ly Support cannot grant access to the Parse.ly Dashboard without an admin’s approval.
Invite new users
To invite a new user, click the “Invite” button at the top right of the User Management page.

The panel that opens allows multiple new users to be invited at once.
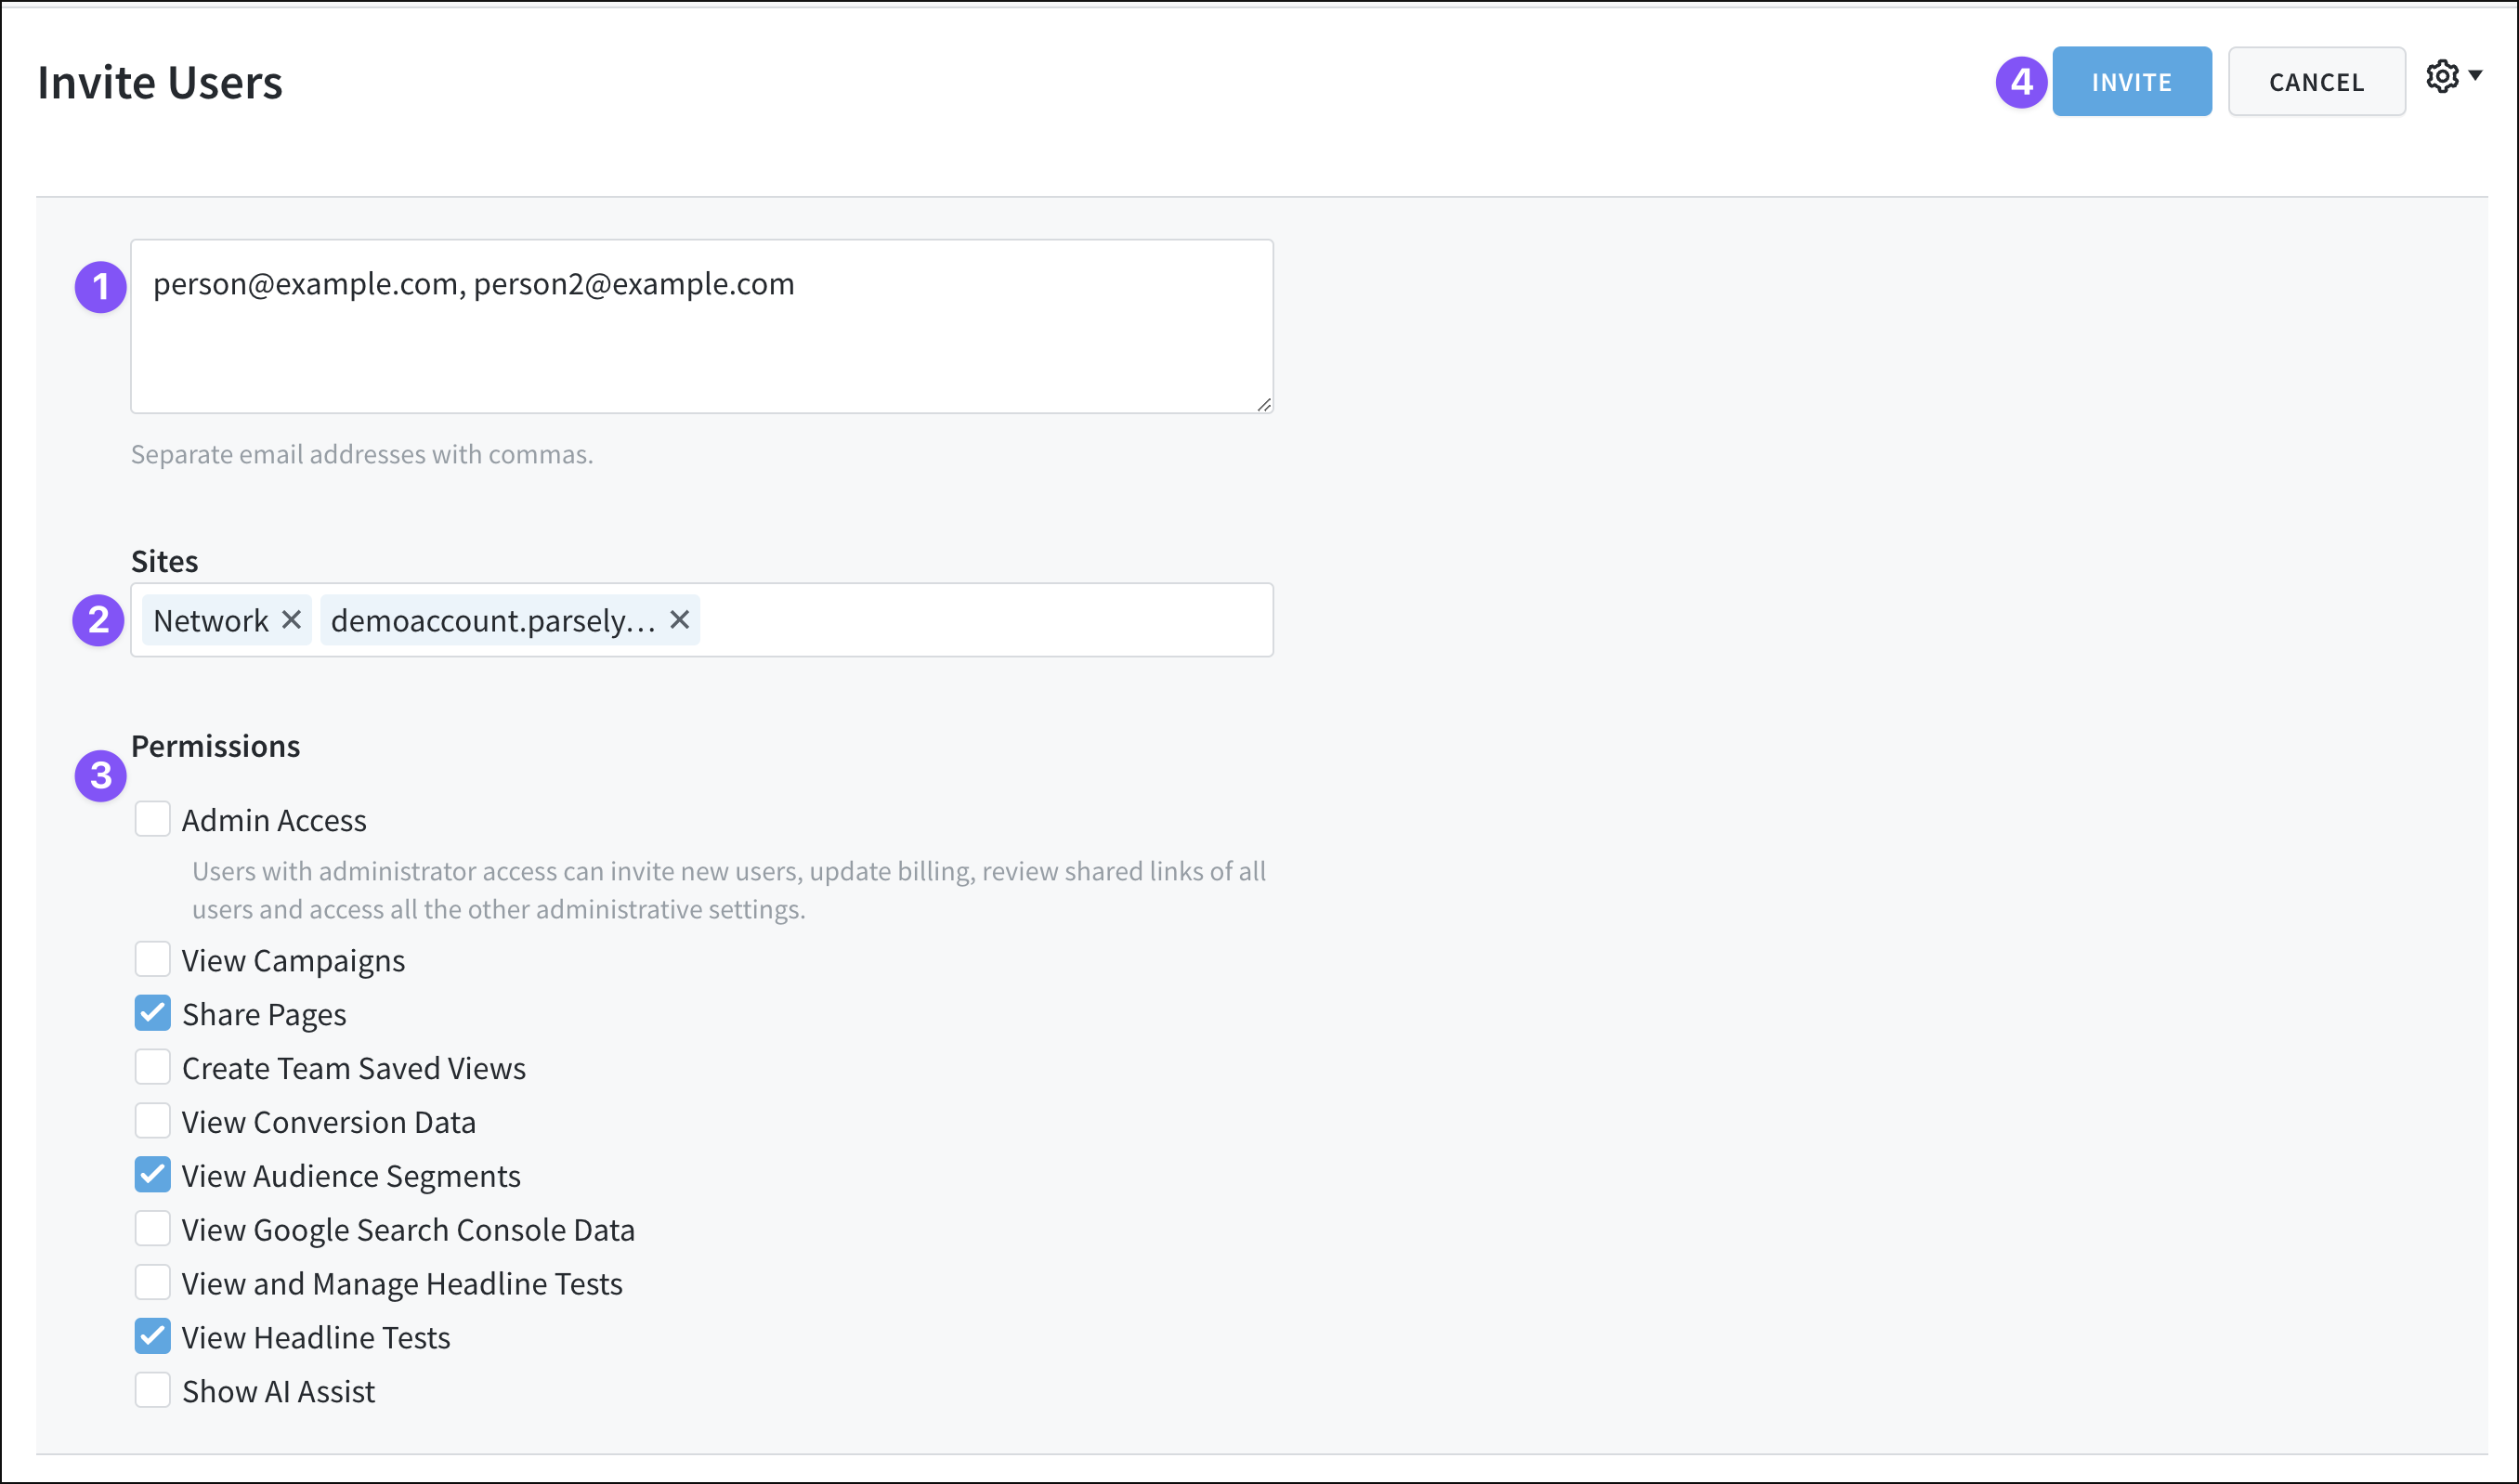
- Enter an email address for each new user you’d like to invite, separating these with commas.
- When in Network Rollup, you can assign network-level access for these new users, or limit their access in the Dashboard to certain single sites. (This option is unavailable when inviting a new user from the single site view in the Dashboard.)
- Set permissions for these new users, including admin access.
- Click the “Invite” button to send the invitations.
Parse.ly will send invitations to the emails listed with log-in instructions.
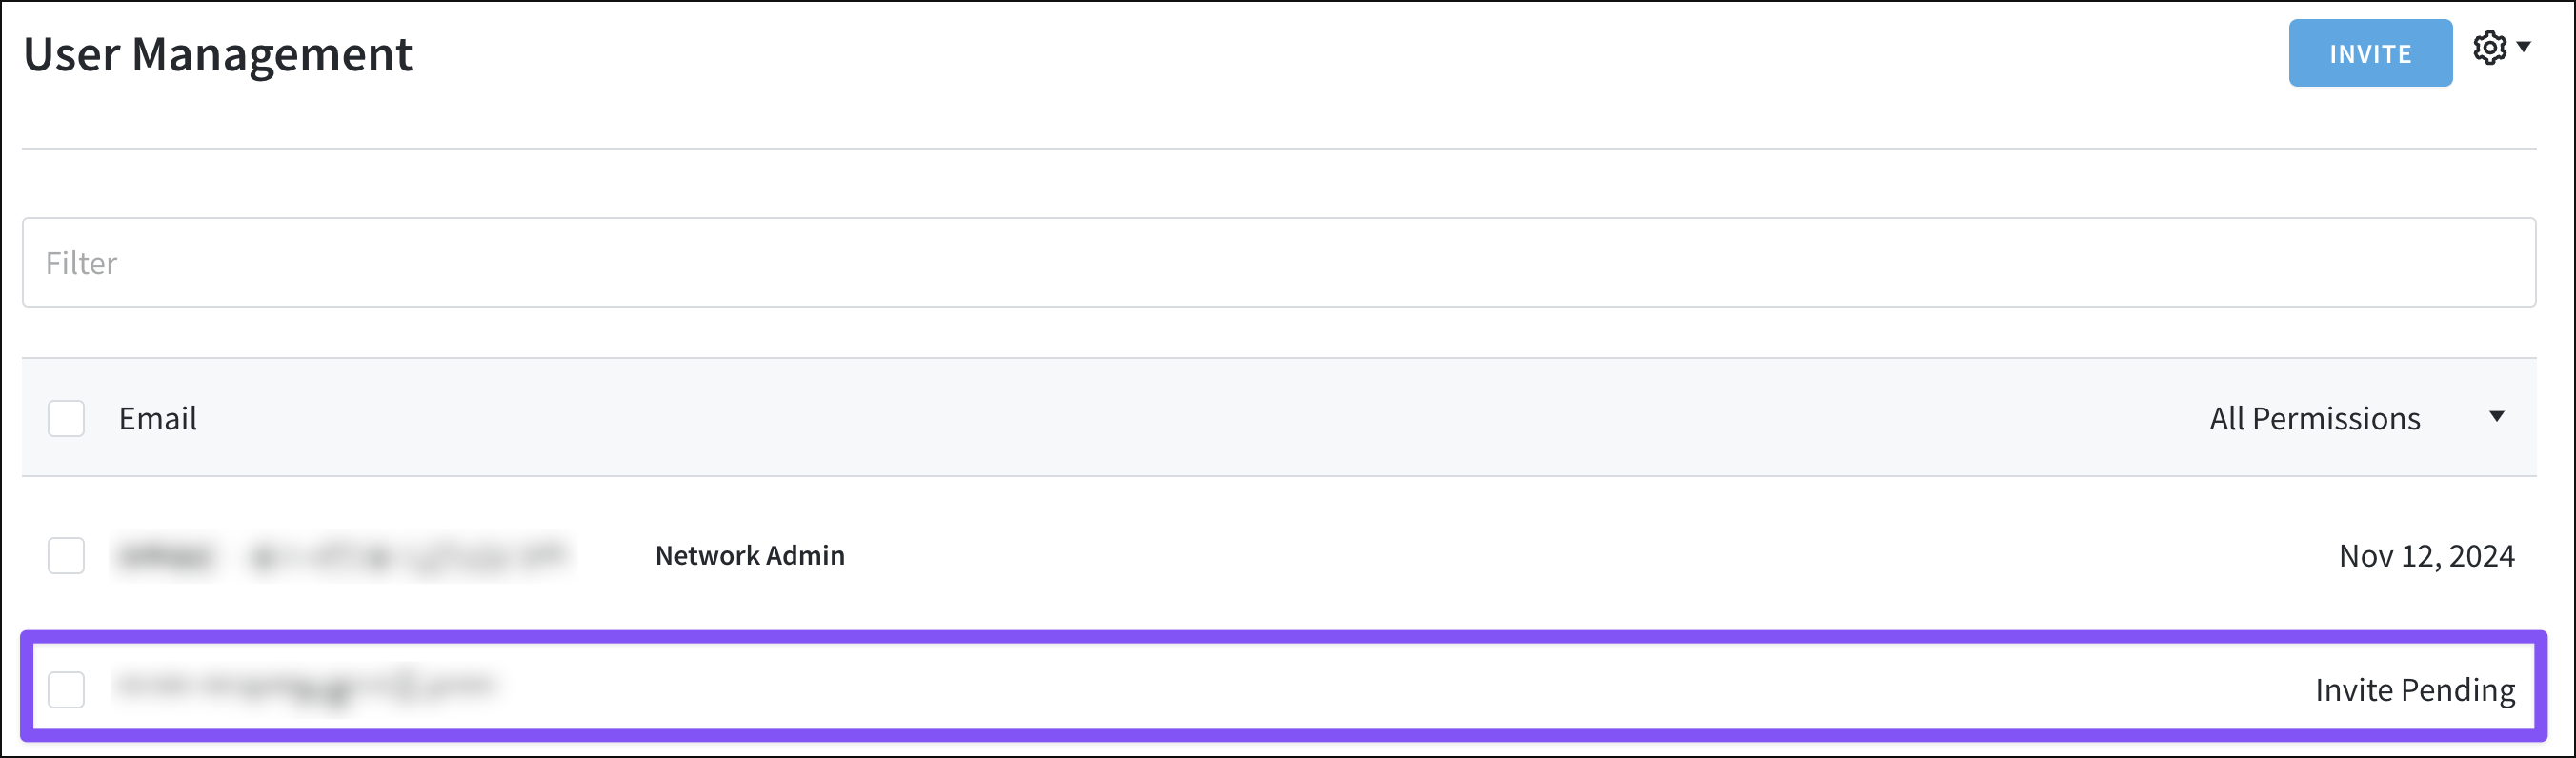
If a user already has Dashboard access, they will not receive an invitation. If you’re unsure if a user already has access, review the list of users on the User Management page — use Network Rollup to see all users.
Resend an invite
If an invited user hasn’t logged in yet, you can resend their invite. First, click the user’s email address from the list on the User Management page.
In the pop-up window that opens, click the gear icon next to the user’s email address, then “Resend Invitation.”

Edit access and permissions
Adjust a user’s access to the network and individual sites, as well as permissions, by first clicking their email address from the list on the User Management page. (Use Network Rollup to see all users across the network.)
In the pop-up window that opens, you can:
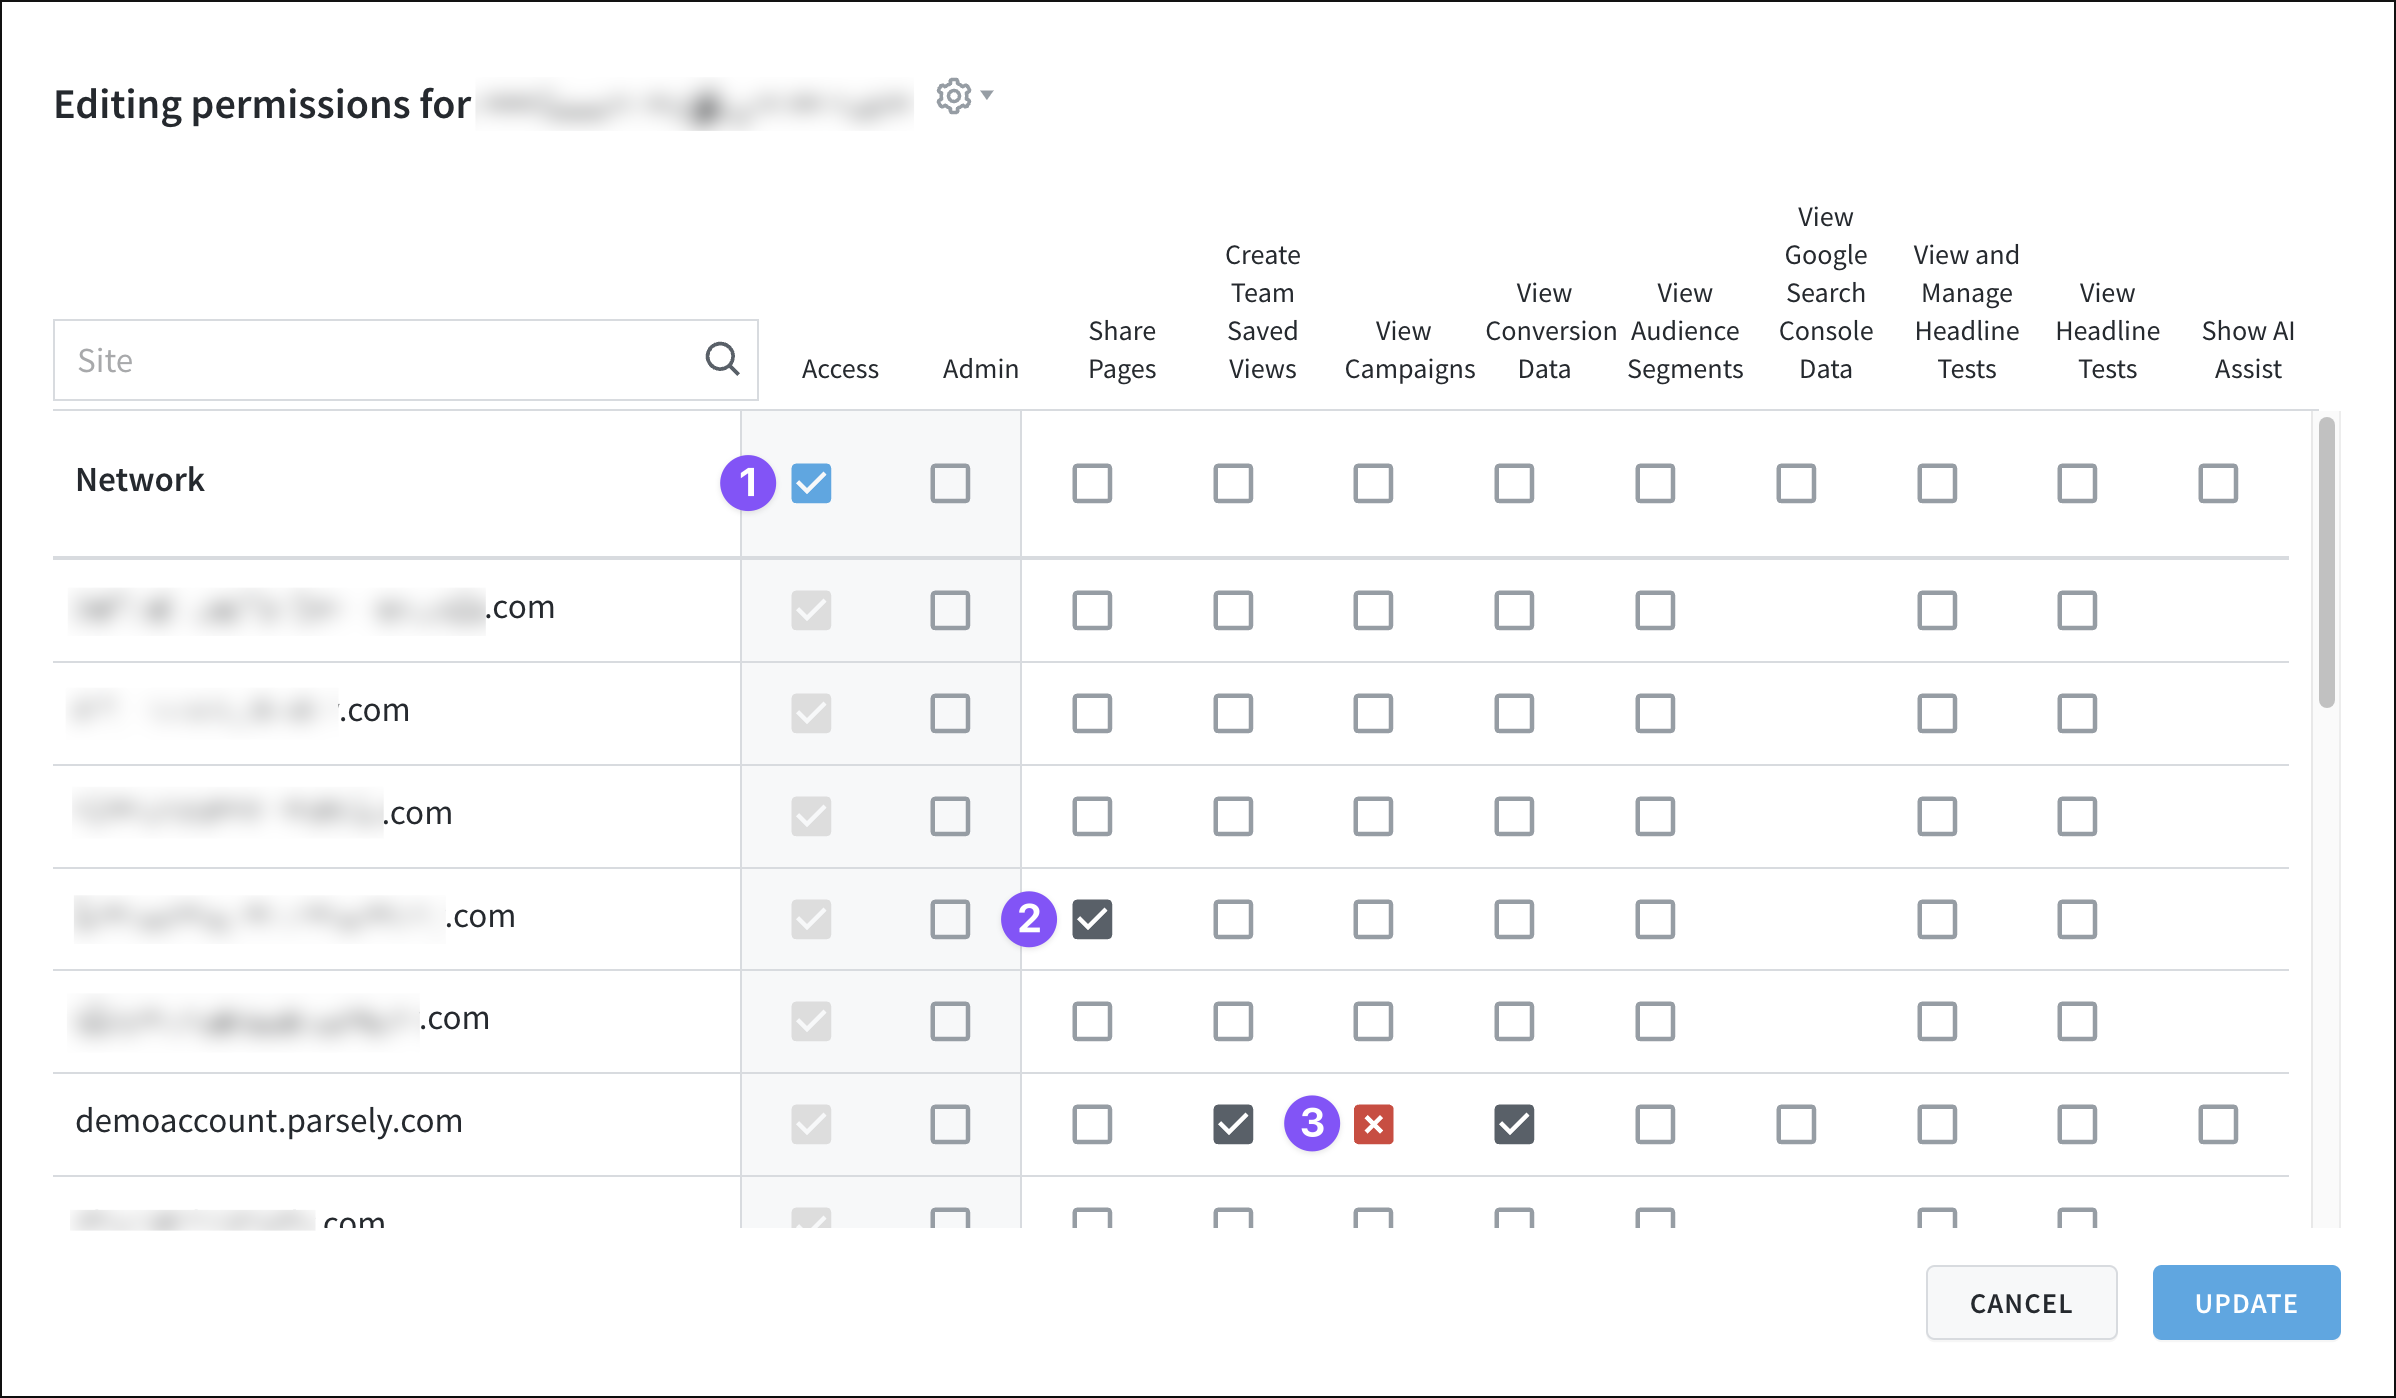
- Grant network-level access, giving a user access to all sites. New access or permissions added here display as blue checkmarks.
- See the user’s existing access and permissions with the gray checkmarks.
- Remove access or permissions, turning each removed checkmark into an “X.”
Remove a user
To remove a user from the Dashboard, first click the user’s email address from the list on the User Management page. (Don’t see the user in the list? Make sure you’re in Network Rollup to see all users across the network.)
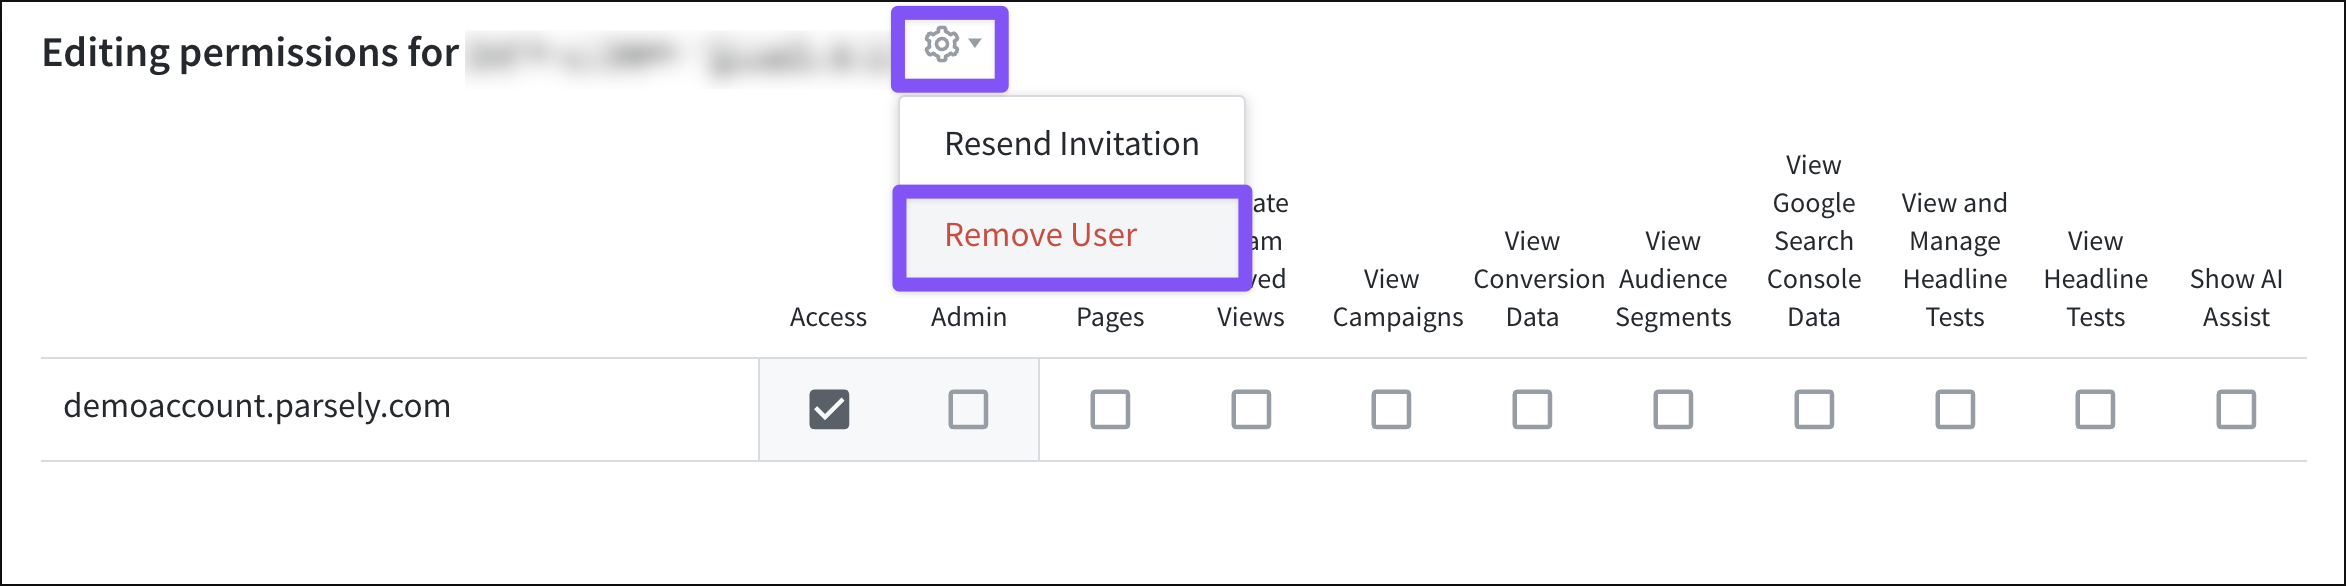
Then, in the pop-up window that opens, click the gear icon next to the email address and “Remove User.”
Authentication settings
The gear icon at the top right of the User Management page provides access to authentication settings.

Note
Parse.ly authentication options require single sign-on capabilities to be purchased. Contact your Relationship Manager for more information.
Export user information
Click the gear icon at the top right of the User Management page to open a drop-down menu with the option to “Export Users.”

Clicking “Export Users” downloads a CSV file of user information, including user email addresses, last-access dates, access levels, email addresses of inviters, invite dates, and permissions.
Last updated: July 24, 2025